
The specific method of mounting a rooftop tent depends on the type of tent and the vehicle it is to be mounted on. Here it is important to ensure that the weight and size of the roof tent match the car and that the necessary attachment points are available. Say railing, matching door frame, etc.
But step by step:
- Clean the vehicle roof and product parts
- Read the instructions or manual first. If you are unsure how to assemble the tent correctly, be sure to contact the manufacturer or specialist retailer. The OutdoorU team is also very happy to answer any questions you may have.
- Check the parts for completeness and have the assembly instructions ready
- Get help - we recommend at least two people to assemble it.
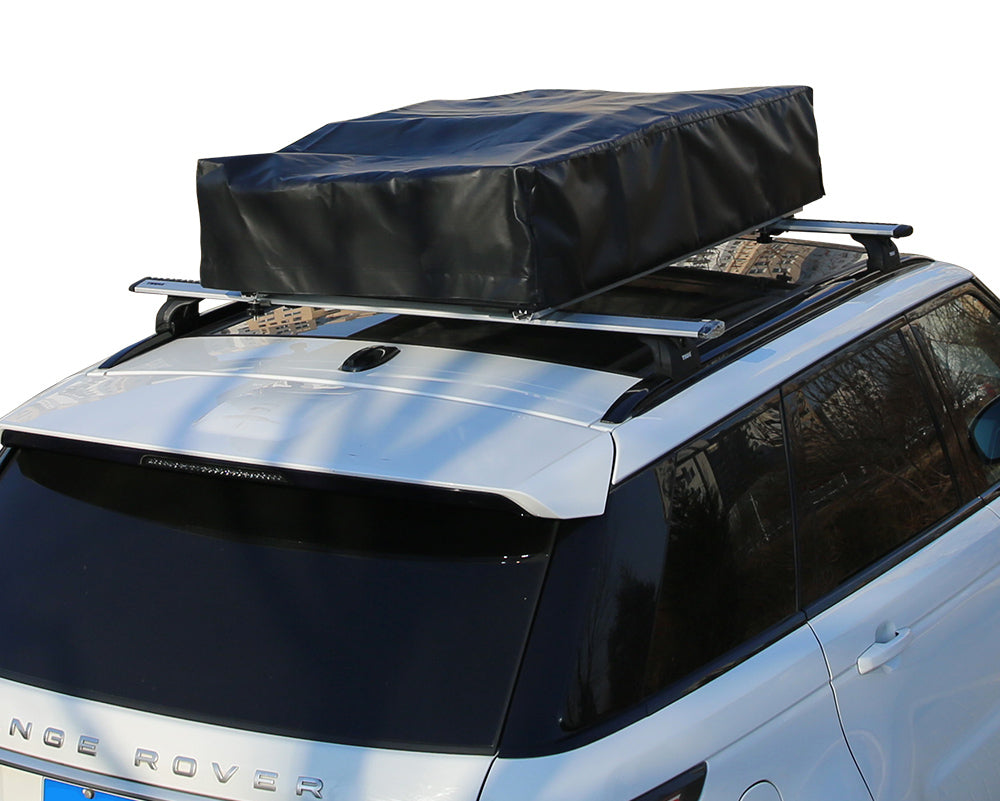
- Attach the roof racks. If no other information is given, we recommend a distance between the roof bars of at least 700 mm, in any case not less than 600 mm
- Position the tent on the beams and fasten it. Either with clamps or with screws - depending on the version. OutdoorU roof tents are supplied with a suitable assembly set as standard and are attached with four clamps that can be variably attached to the cross rails.
- The roof rack bracket can loosen when driving, so check the fit regularly and tighten the screws.
- Inform and avoid disappointment: There are individual roof racks, antenna positions or glass roofs that are unsuitable for our roof tents


